Italian Rainbow Cookies
I did not expect to fall for these cookies. They were not part of my family's holiday baking repertoire when I was growing up, or when my kids were growing up; in fact, until a couple of weeks ago I had never made them. I just never felt drawn to the kaleidoscope colors of classic Italian-American cookies.
I preferred my mom's delicate hazelnut crescents dipped in confectioners' sugar, similar to these; and her calcionelli, Abruzzese fried half-moon cookies filled with finely chopped nuts and honey and fragrant with orange and lemon zest. And the gingerbread cookies she baked from an old Betty Crocker cookbook, and which my sister and I decorated with stiff white royal icing (for color we relied on copious amounts of sprinkles).
Then I tried the rainbow cake at All-Purpose Pizzeria, in D.C. It is, essentially, these cookies baked in cake form. The cake is made next door to the restaurant at local pastry maven Tiffany MacIsaac's ButterCream BakeShop. It is tender and dense, infused with almond flavor, but with a welcome tart note from apricot jam spread between the layers and a touch of bittersweet from a drizzle of dark chocolate. I couldn't believe how good it was the first time I had it (I've since been back for more).

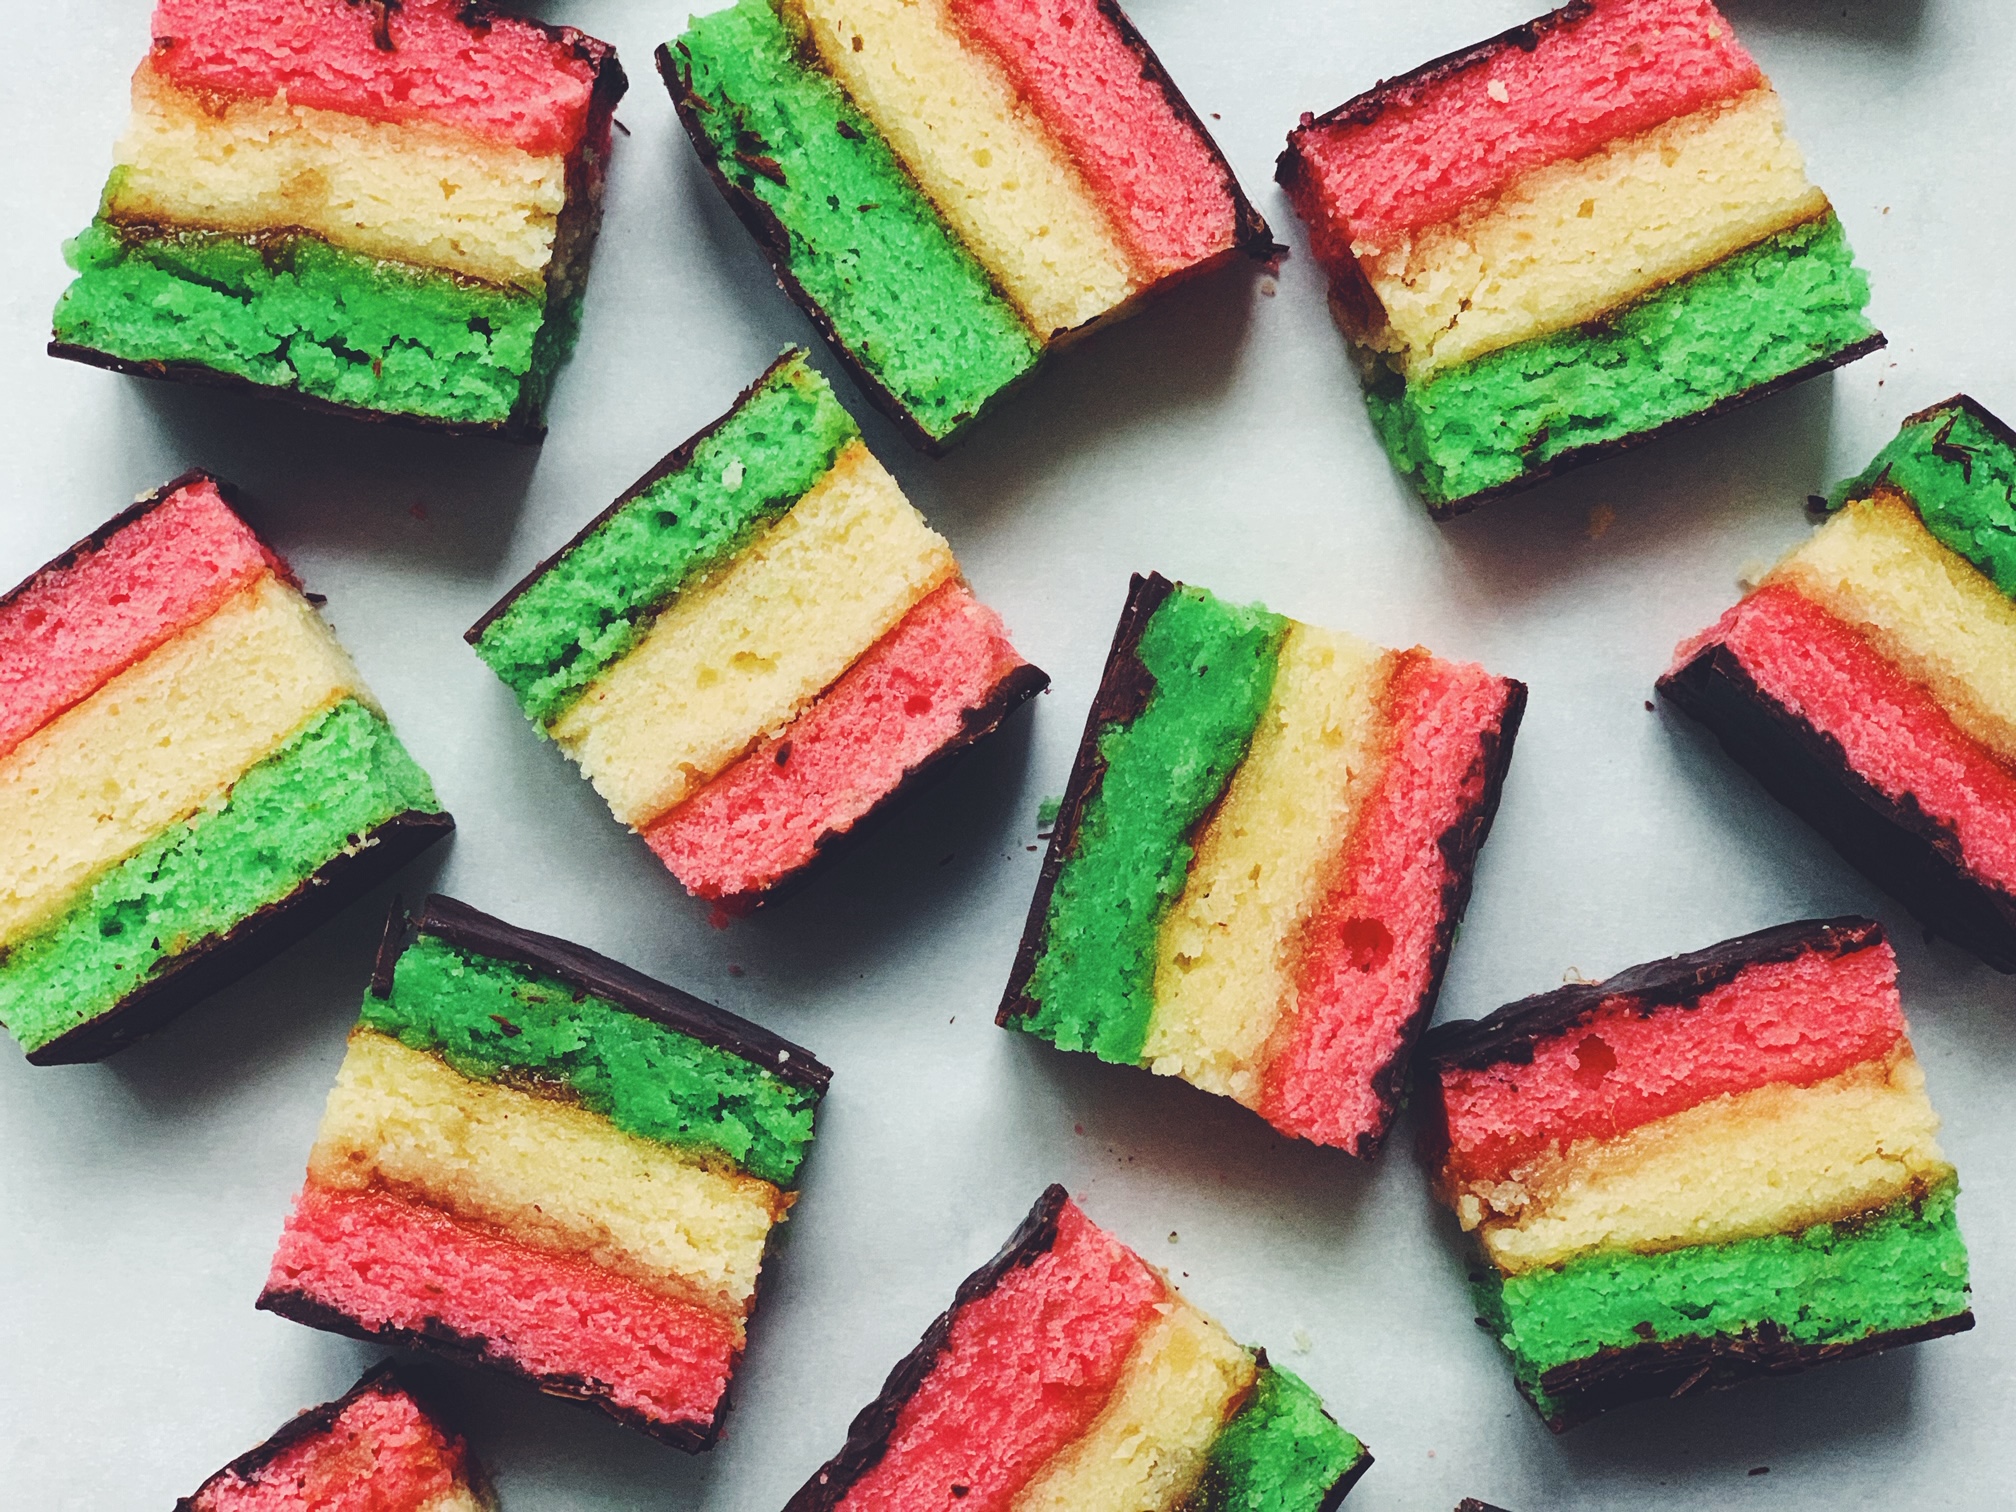
Recently, as I was flipping through Rossella Rago's new book, "Cooking with Nonna: A Year of Italian Holidays," I came across her recipe for Nonna Cecilia DeBellis' Seven Layer Cookies, which is the rainbow cookie by a different name. (If you add together the three layers of cookie dough, plus two thin layers of jam plus the top and bottom layers of chocolate, you end up with seven.)
Rossella's book, by the way, is a wonderful collection of celebration recipes from Italian and Italian-American nonnas, including her own Nonna Romana. The two of them, Rossella and her grandmother, make a dynamo team and they are adorable together.I made Nonna Cecilia's cookies and now I know what millions of other Italian cookie lovers have known all along ~rainbow cookies deserve the hype. Not quite cookie, not quite cake, these tender, two-bite treats get better with time, as the jam seeps into the crumb.

A couple of notes about the recipe: It takes several steps and a little dexterity to make these cookies, but they are well worth the effort. The recipe calls for 12-by 8-inch pans, but I used 11-by-7-inch, which gives each layer just a little more height. Although the recipe does not call for greasing the pans, I found the batter stuck to the bottom of mine, so I recommend coating them with cooking spray and flour or lining the bottoms with a piece of parchment. I used Odense almond paste, which I found at my local Safeway. I used Williams-Sonoma food paste to dye the cookie dough, but I can't help think there might be some natural way to color it ~ maybe beet juice for red/pink? What about green? All I can think of is spinach but ~ yikes ~ there must be something else out there in nature. (Leave a comment if you have any suggestions!) Also, I sort of think these cookies would be just as appealing without any dye ~ layers of butter-colored dough sandwiched with apricot jam (or maybe raspberry for more color).
ITALIAN RAINBOW COOKIES
Makes about 4 dozen cookies
Ingredients
Baking spray and flour or parchment for the baking pans
4 large eggs, separated
1/2 pound (227 g or 2 sticks) unsalted butter, at cool room temperature
1 cup (200 g) sugar
12 ounces almond paste, chopped or broken up into small pieces
2 cups (240 g) unbleached all-purpose flour
Red and green food coloring (optional)
1/2 to 3/4 cup apricot jam
6 ounces (170 g) good-quality bittersweet chocolate, coarsely chopped (I use Trader Joe's Pound Plus 72% dark Belgian chocolate, which comes in 17.6-ounce (1 kg) bars)
Instructions
1. Preheat the oven to 375° F (190° C) and position a rack in the center. Spray three 11- by 7-inch baking pans with cooking spray and line each with a rectangle of parchment that fits neatly in the bottom. Spray the parchment. (If you don't have parchment, lightly coat the pans with flour after spraying them.)
2 In the bowl of a stand mixer fitted with the paddle attachment, beat the egg yolks and butter on medium speed until combined. Add the sugar and beat until well blended. Add the almond paste, a few pieces at a time and beat until fully incorporated. Reduce the speed to low and sprinkle in the flour. Stop the mixer if necessary to scrape down the sides of the bowl.
3. In a small bowl, whisk the egg whites with a fork until foamy and add them to the mixer. Beat on low-medium speed until a soft, uniform dough forms.
4. Divide the dough into 3 equal parts. Transfer two parts to two separate bowls and leave the third in the mixing bowl. Add red food coloring to taste to one bowl and green coloring to the other (I used about 8 drops of each). Mix until the color is even throughout.
5. Spread the dough into the prepared baking pans, taking care to spread it as evenly as possible.
6. Set two of the pans in the oven side by side. Bake 10-12 minutes, until the dough is just set and the edges are just beginning to brown. Remove the pans to a cooling rack, and slide the third pan into the oven to bake for 10-12 minutes. Transfer it to a cooling rack and let all three layers cool completely.
7. Line a clean work surface with parchment paper. Carefully flip the green sheet out of the baking pan onto the parchment. If you used parchment in the pan, peel it off the green layer and discard it. Spread enough apricot jam over the green layer to cover it thinly but thoroughly, all the way out to the edges. Carefully flip the white layer on top of the green layer and peel off the parchment (if you used it). Spread the remaining apricot jam on the white layer. Place the red layer on top of the white. With your hands, gently but firmly press the layers together.
8. Use a serrated knife to trim all four edges of the sheets to even them out.
9. Place all but a few pieces of the chocolate in a double boiler or a heat-proof bowl set over a pan of simmering water ~ the bottom of the bowl should not touch the water. Stir until the chocolate has melted. Remove from the heat and add the last few pieces, stirring until they are completely melted by the residual heat.
10. Spread half the chocolate in a thin layer on top of the red cookie layer. Slide the parchment with the cookie layers on it onto a large baking sheet and set it in the freezer for 20 to 30 minutes, until the chocolate has hardened. Carefully invert the cookie slab onto another piece of parchment, so that the chocolate is now on the bottom. Spread the remaining chocolate evenly over the top of the green layer. Return the slab to the freezer for 20 to 30 minutes, until the chocolate has set.
11. With a sharp knife, cut the layered slab into 4 bars lengthwise and cut each bar crosswise into 3/4-inch-wide pieces. You should end up with about 4 dozen cookies.
12. To store, arrange the cookies in layers in a plastic container or cookie tin , separating each layer with parchment or waxed paper. They will keep well for at least a week.